To kick start our Knowledge
Share at E5 Process I did a session exploring reverse processing film and paper. This process
is good for shooting directly onto paper in camera or making enlarged negatives for an alternative print process
 |
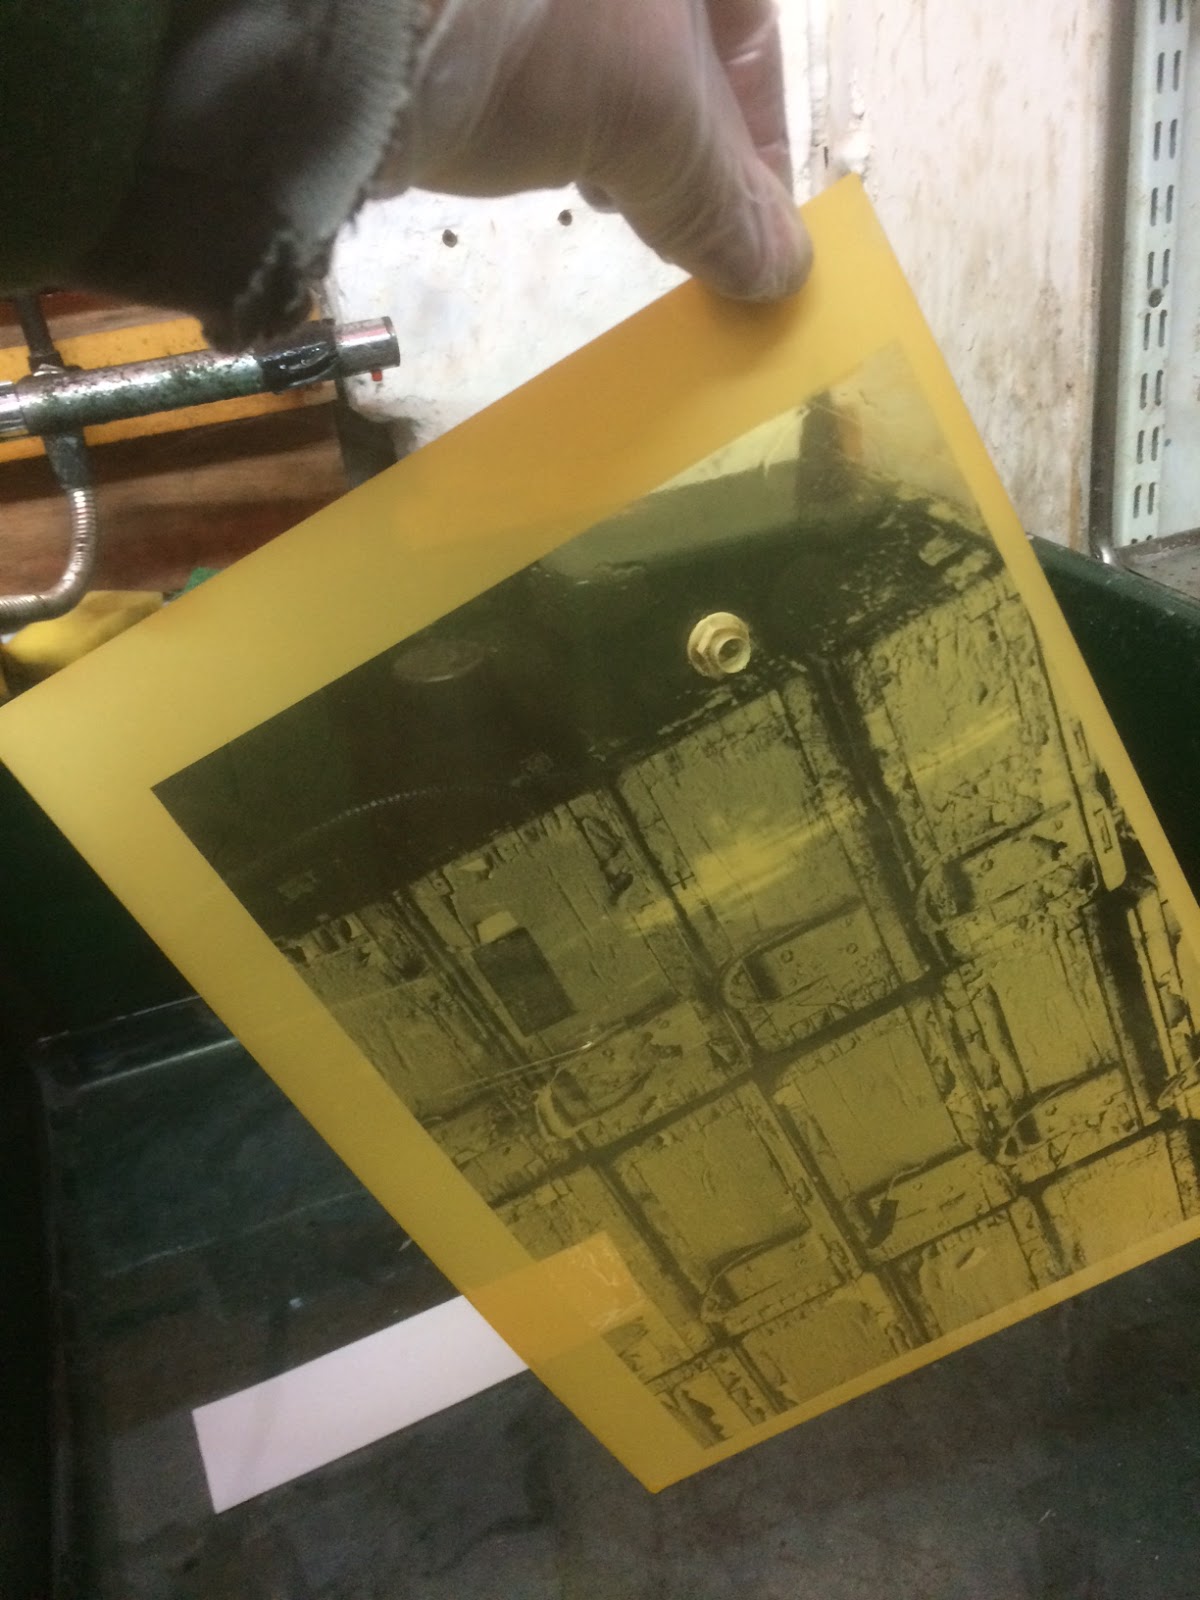
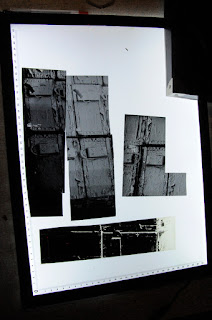
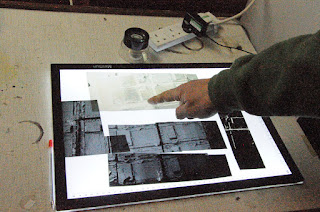
| test stripping lith film for a normal exposure |
 |
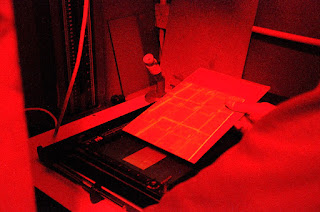
| 1st development in Ilford PQ 1-9 |
 |
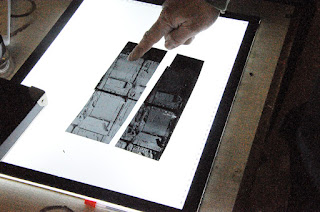
| inspect for max tonal detail |
 |
| add exposure factor about 3 to 4 stops |
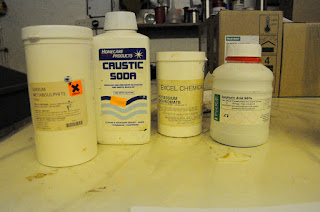 |
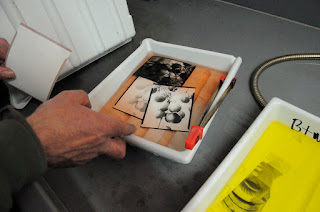
| some of the chemicals involved |
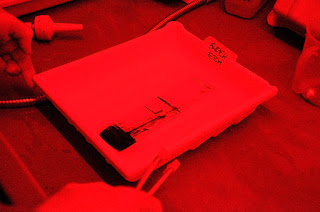 |
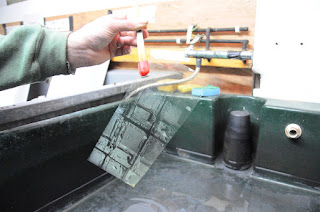
| in the bleach/etch bath and watch your image almost disappear |
 |
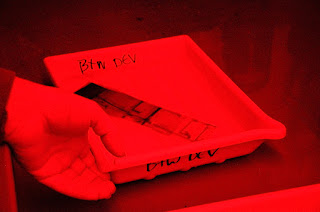
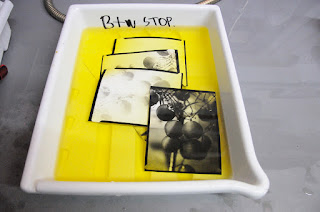
| out a the bleach/etch bath once all the black has gone |
 |
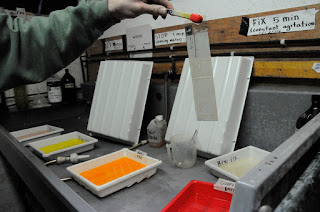
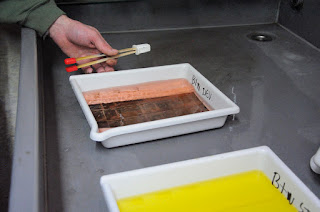
| into the clearing bath |
 |
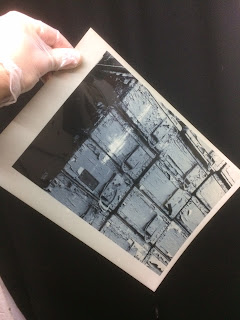
| a beautiful reverse image almost white at this stage |
 |
| now back in for a 2nd development |
 |
| inspecting for best reversed tonality |
 |
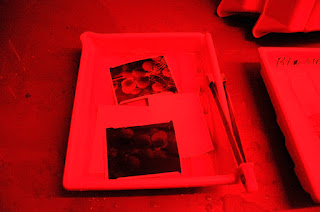
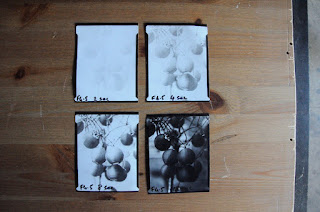
| test clearly showing the effects of pre-flashing on silver density |
 |
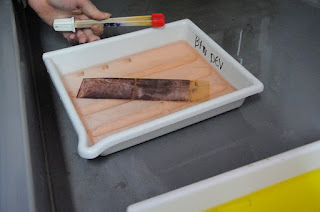
| 2nd development |
 |
| impressive reduction in contrast and densty with the right pre-flash | |
|
 |
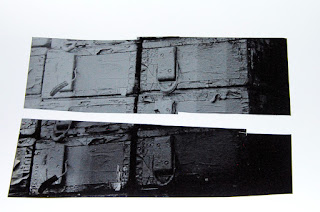
| heavily stained film before clearing bath |
|
|
|
 |
| after the clearing bath |
 |
| a cyanotype print from the practise negative |
In conclusion I was very impressed with how much density and contrast could be controlled by the amount of pre-flashing. For high contrast materials it seems a much better method than making an interpositive. Previous issues including increased contrast from copying, newton rings from sandwiched film material and dust are all eliminated with this method. The final cyanotype print gave me the type of contrast I like and had a different feel than a negative made via an interpositive or a digital negative.
Photographic Paper
 |
| We then tried some RC paper shot outside with a 5x4 camera |
 |
| Once again - with the right exposure expect your image to be almost black in 1st dev. |
 |
| giving a beautiful positive image in 2nd dev. |
 |
| top left image had actually looked best in the 1st dev |
The resin coated paper was very straight forward but I would avoid fibre based or liquid emulsion coated paper due to the heavy staining from the dichromate